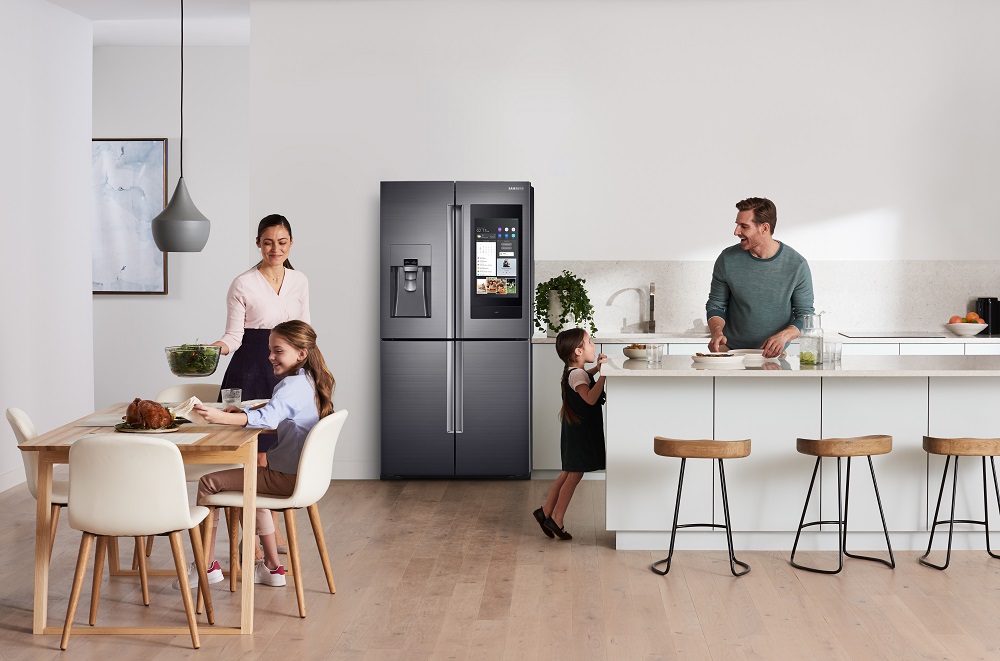
For families with toddlers or young children, every room in the house presents its own set of challenges and the kitchen is one of the trickiest. While we often focus on sharp objects and hot surfaces, the refrigerator can also pose serious risks if not properly managed. From tempting snacks stored too high to potential exposure to spoiled food or cleaning supplies, your fridge can be more hazardous than you might think.
Creating a safe kitchen environment involves thinking ahead, staying organized, and setting up systems that promote both independence and protection for little ones. Below are comprehensive safety tips to help ensure your refrigerator is a safe and healthy part of your family kitchen.
1. Secure the Refrigerator Doors
One of the first steps in childproofing your fridge is making sure the doors can’t be easily opened by small, curious hands. Children are naturally curious, and the refrigerator, with its colorful contents and cool air, is often a source of fascination.
Use child safety locks specifically designed for appliances. These easy-to-install tools can prevent children from opening the door without adult assistance, reducing the risk of accidents like food spills or getting trapped inside.
Additionally, if you have a bottom freezer, make sure it’s locked as well. Children may pull on the freezer handle or try to climb inside, which can be extremely dangerous.
2. Keep Harmful Items Out of Reach
The inside of your refrigerator may contain items that can be harmful if consumed or mishandled. From raw meat to alcohol-based sauces or expired foods, the risk is real.
Store anything potentially hazardous on the top shelves, far from your child’s reach. If your child is particularly adventurous or tall for their age, consider using lockable storage bins within the fridge to keep such items contained.
Examples of items to store out of reach:
- Medications or vitamins
- Sharp tools or utensils (some families store knives in chillers)
- Alcoholic beverages
- Uncooked meats or seafood
- Spicy condiments
3. Organize for Safety and Accessibility
An organized refrigerator is not just aesthetically pleasing, it’s also safer and more functional for families with young children. Use transparent bins and labeled containers to sort food items logically.
Designate a “kids' zone” in your fridge, preferably on the lower shelves, where you place healthy snacks such as:
- Pre-washed fruit in small containers
- Cut-up vegetables in snack-size portions
- Yogurt cups or cheese sticks
- Water bottles or diluted juices
This method empowers children to make safe, healthy food choices without needing to rummage through every shelf. It also minimizes the risk of them reaching for unsafe or high-placed items.
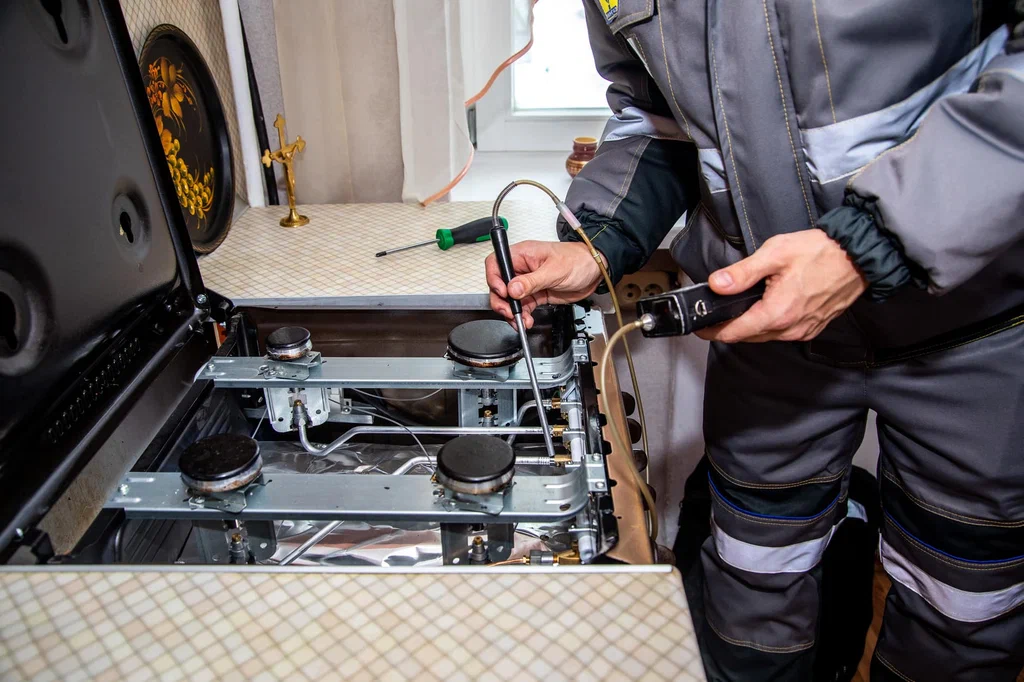
4. Check for Appliance Damage Regularly
Your refrigerator needs to function correctly to be considered safe. A broken door, malfunctioning seal, or loose shelf can quickly turn into a safety hazard. Children may pull on unstable shelves or pinch their fingers in cracked doors.
Make it a habit to inspect your fridge monthly for any physical damage:
- Check that door seals are intact
- Make sure drawers and shelves are secure and unbroken
- Listen for unusual noises that could indicate mechanical issues
- Ensure that interior lights function properly
If you notice a problem, don’t delay fixing it. Sometimes small issues can quickly escalate and compromise the safety of both your appliance and your family.
5. Maintain Safe Temperature Settings
Temperature control is one of the most overlooked safety measures. A refrigerator that runs too warm can become a breeding ground for bacteria, leading to foodborne illnesses. This is especially important when children, who may not always understand food spoilage, help themselves to snacks.
The ideal temperature for a refrigerator is between 35°F and 38°F (1.6°C to 3.3°C), while the freezer should be at 0°F (-18°C).
Use a built-in or standalone thermometer to monitor the internal temperature regularly. If your appliance struggles to maintain these levels, it may be time to inspect its performance or seek professional assistance.
6. Keep the Exterior Safe Too
The front and sides of your refrigerator can also be dangerous if not kept in check. Children might try to climb fridge handles, play with magnets or notes, or use it as a hiding place. Consider these tips:
- Avoid storing toys or decorative items on top of the fridge that might tempt children to climb.
- Use flat magnets instead of bulky ones to prevent choking hazards.
- Install corner guards on sharp fridge edges if it's located near a play or dining area.
7. Clean Regularly and Thoroughly
A clean fridge is not just about aesthetics, it’s a matter of health. Forgotten spills, expired items, and cross-contamination can pose risks, especially when children are involved.
Clean your refrigerator every two to four weeks by:
- Removing all items and wiping down every surface with warm, soapy water
- Checking expiration dates and tossing old or spoiled food
- Cleaning seals and handles with antibacterial wipes
This also helps keep your food fresh and your fridge odor-free.
8. Educate Your Children on Kitchen Safety
Even the best safety tools are no substitute for good habits. Start early by teaching your children basic kitchen and refrigerator safety. Tailor the lessons to their age:
- Toddlers (1-3 years): Simple rules like “no opening the fridge without mommy or daddy.”
- Preschoolers (4-6 years): Teach them which foods they can and cannot touch.
- Older children (7+): Encourage responsibility like closing the door gently and not adjusting temperature dials.
Use visual aids like stickers or symbols for “yes” and “no” zones in the fridge to make learning easier.
9. Never Let Kids Climb the Refrigerator
It might seem obvious, but children sometimes see the fridge as a ladder—especially when they want something high up. This is incredibly risky.
If your child is prone to climbing:
- Keep a stool in the kitchen for supervised use
- Talk to them about the dangers of climbing on furniture and appliances
- Secure heavy items on the fridge so they don’t fall if the child shakes the unit
Also, make sure your refrigerator is secured to the wall, especially if it’s a large double-door model, to prevent tipping.
10. Reevaluate Your Setup as Your Family Grows
As your children grow, their needs and behaviors will change. A safety setup that works for a toddler might not be suitable for a kindergartener. Reassess your refrigerator organization, safety locks, and educational approach every few months.
Make adjustments like:
- Moving “kids’ snacks” up if a child starts exploring too much
- Removing safety locks once children have mastered good habits
- Introducing chores like helping clean the fridge or checking for expired food
Your refrigerator may seem like a harmless everyday appliance, but for families with young children, it requires attention and thoughtful safety measures. By securing access, organizing wisely, and teaching responsible behavior, you create a kitchen environment that’s not only functional but also safe for your little ones.
Remember, safety isn’t about restricting your child it’s about empowering them in a protected, supportive space.